Build and test a Laravel 8 API
Building an API from scratch with Laravel 8

Create the app
With modern Laravel (version 8) you can set up your environment using Docker. This command will take advantage of Docker containers, so you'll need Docker for Desktop installed on your computer. Run:
$ curl -s "https://laravel.build/sample-api?with=mysql,redis" | bash
...
Thank you! We hope you build something incredible. Dive in with: cd sample-api && ./vendor/bin/sail up
Available services include
mysql,pgsql,redis,memcached,meilisearch,selenium, andmailhog
This will create a new Laravel project called "sample-api" and a new Docker container running PHP 8. This is helpful because it means you don't have to have PHP 8 installed on your machine, you only need Docker. Docker certainly has it's own overheads and turning curve but has the advantage that local and production can look the same or have the same definitions. Using Docker for development and production makes "infrastructure as code" easier and gets us closer to that goal of continuous deployment. I hope in the next steps this will become apparent!
Render is a great service for deploying Laravel apps that takes advantage of Docker containerization technology. We use Render to host and deploy Employbl :)
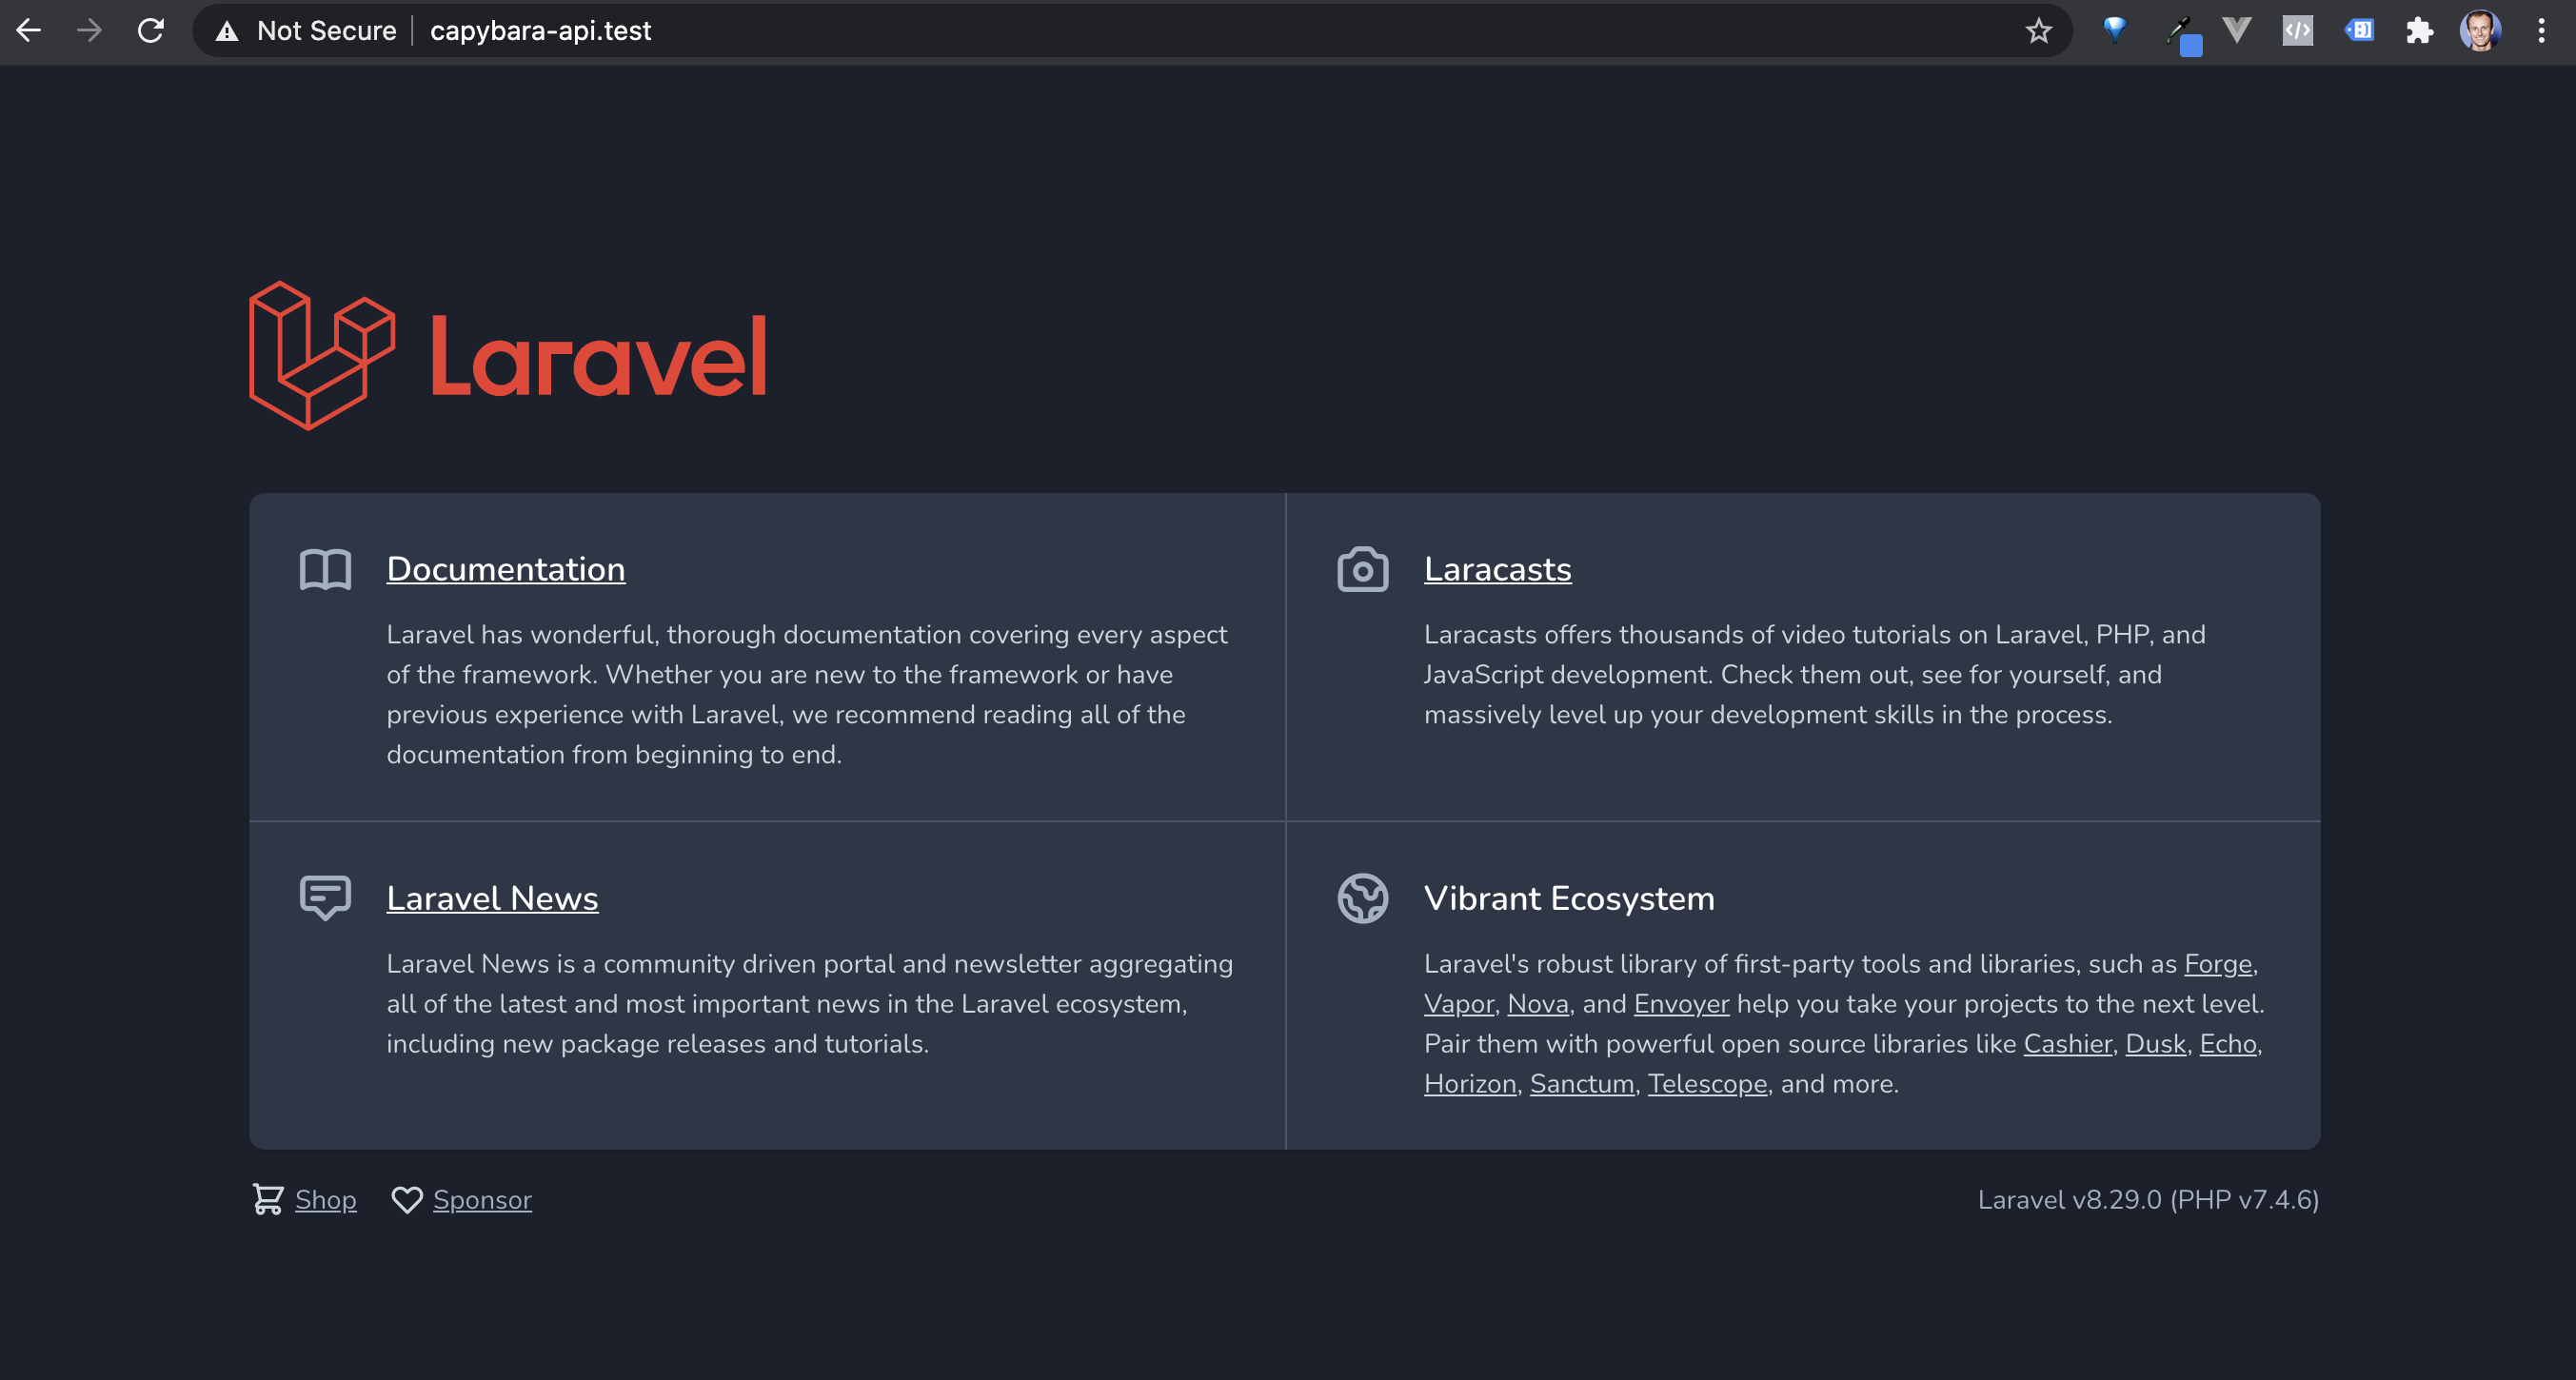
With Laravel Valet configured properly on your machine you should be able to see a new Laravel app default home screen in your browser at http://sample-api.test
Create your storage layers
Laravel is a PHP server and web framework. This is great for sending requests from the server to clients. Anytime a user opens up a web browser and sends us a request we can respond back to them over the HTTP protocol using our Laravel PHP server. Most web applications also need software for storing data. When we ran our curl command that created our app above we specified that we'd like to set up the app with MySQL and Redis. MySQL is a structured database composed of tables. Redis is an in-memory data store for key value pairs. Reading from memory is much faster than reading from disk. In practice this means we'll be using Redis for caching. The disadvantage of storing things in memory is they are not as persistent as storing something on disk. When a computer turns off things in memory will disappear, whereas things stored on disk will not disappear.
Our MySQL and Redis config is defined in our docker-compose.yml file in the root of our Laravel 8 project. By running ./vendor/bin/sail up we create Docker containers on our local machine for MySQL and Redis. We can connect to MySQL and Redis without having to install these technologies on our computers, everything is configured in the docker-compose.yml file.
For the "sail up" command to work I had to add a new environment variable like APP_PORT=8084 because I had a conflict my computer was already using TCP port 80. There are 65,535 total TCP ports and port 8084 wasn't being used :)
Build your first API endpoint
Now that the application codebase is set up and the Docker containers are running we can start building out our application.
php artisan make:model Capybara -mcrThis will create a model, migration and resource controller for Capybaras. We'll want to define the columns important to us in the create_capybaras_table migration file. Once that's running create the database table by running sail php artisan migrate from the command line. Highly recommend reading the docs on Laravel Sail for what's going on here. For instance, I set up an alias in my ~/.zshrc file to use "sail" instead of typing out the full path in vendor: alias sail='bash vendor/bin/sail'
Pro tip: If you ran the migration before modifying the migration file or want to make changes to the migration file you can rollback one migration with command:
php artisan migrate:rollback --step=1
To test we can connect to our Docker database are run commands try out the tinker console. If the migrations ran and you're connected properly you should see an empty collection since we haven't added any Capybaras yet.
$ sail php artisan tinker
Psy Shell v0.10.6 (PHP 8.0.2 — cli) by Justin Hileman
>>> use App\Models\Capybara;
>>> Capybara::all();
=> Illuminate\Database\Eloquent\Collection {#4113
     all: [],
   }
The first API endpoint we'll build is for creating Capybaras. Let's start by writing a test! Create a test file with php artisan make:test CapybaraTest.
class CapybaraTest extends TestCase
{
    /** @test */
    public function create_capybara_test()
    {
        $capybaraData = [
            "name" => "John Doe",
            "color" => "Brown",
            "size" => "Medium",
        ];

        $this->json('POST', 'api/capybaras', $capybaraData, ['Accept' => 'application/json'])
            ->assertStatus(201)
            ->assertJsonStructure([
                "capybara" => [
                    'id',
                    'name',
                    'color',
                    'size',
                    'created_at',
                    'updated_at'
                ],
                "message"
            ]);
    }
}
Run tests with sail test command. The endpoint for creating a Capybara:
public function store(Request $request)
    {
        $data = $request->all();

        $validator = Validator::make($data, [
            'name' => 'required|max:255',
            'color' => 'required|max:255',
            'size' => 'required|max:255'
        ]);

        if($validator->fails()){
            return response(['error' => $validator->errors(), 'Validation Error']);
        }

        $capybara = Capybara::create($data);

        return response([
            'capybara' => new CapybaraResource($capybara),
            'message' => 'Capybara created successfully!'
        ], 201);
    }
Now we've validated that this app can create capybaras through the API.
Conclusion
In this tutorial we set up a Laravel 8 application and connected to MySQL. We're running Docker via Laravel Sail for local development and have a PHPUnit test that's passing for testing that we can create records in the database.

